 CamStation
Stream a performance as it sounds.
Your instruments untouched, a DAW or DJ app in stereo on its own channel, a master read in LUFS, and every input on its own track for the mix afterwards.
Who it’s for
For musicians, DJs and the people who stream them.
A living-room set, a DJ mix, a concert from a small venue: shows where the sound is the point. With the strips off, your instruments reach the master as they left your gear; the voice keeps its own processing; and every input can be recorded on its own track for the release.
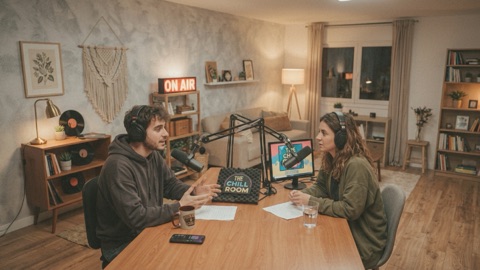
The pictures on this page are from CamStation’s demo show, The Chill Room; the same screens run a performance.
A typical rig
- Sound
- An audio interface: the vocal mic and the instruments or the desk’s outputs as show mics, up to four; or a DAW or DJ app’s stereo output as an app’s sound.
- Cameras
- A wide shot and a close one or two, on cables; exposure and focus locked.
- Outputs
- YouTube and Twitch at once, and a recording with every input on its own track.
- Mac
- Apple Silicon (M1 or later), macOS 15.2 or later.
Bring the music in clean
Your inputs, untouched unless you choose.
Each input of your interface can be a show mic with its own fader and channel strip. For the voice, the Voice or Broadcast preset; for instruments and a desk feed, the strip off, so the signal reaches the master as it left your gear.
A show mic is one mono channel. For a stereo source, such as a mix made in Logic Pro or MainStage or a DJ app, capture that app with its sound and set it to be heard always: it gets a stereo channel of its own in the mixer, whatever shot is on air. More in Sound and Screen capture.

Loud enough, never clipped
Read in LUFS, protected in true peak.
The master strip shows the program’s loudness the way broadcasters read it (momentary, short-term and integrated, in LUFS) against the show’s target of −16 LUFS, and its limiter holds true peaks at −1 dBTP, so the encoded stream doesn’t distort on the listener’s side. YouTube and the music services turn anything louder than their own level down, so a crushed master only loses its dynamics.
The limiter is a safety net, not a loudness tool. A healthy mix touches it on the biggest hits and nowhere else.

Cut with the music
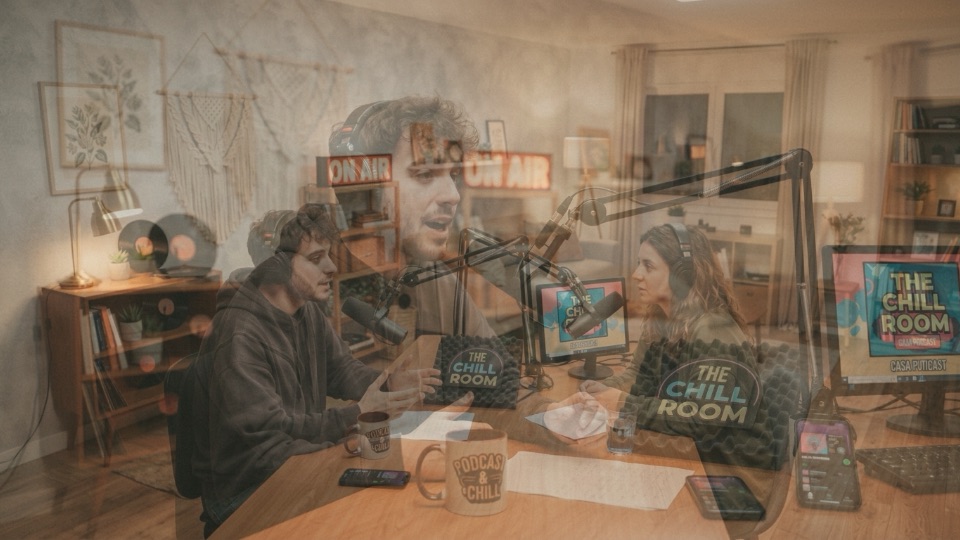
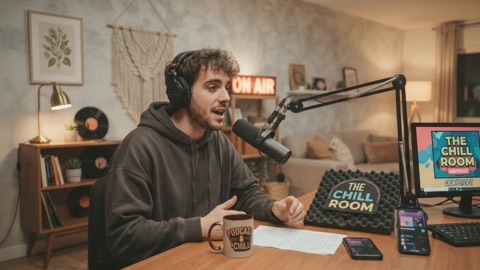
1.0 sHost camera
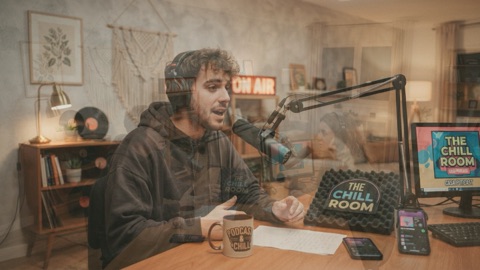
1.1 s
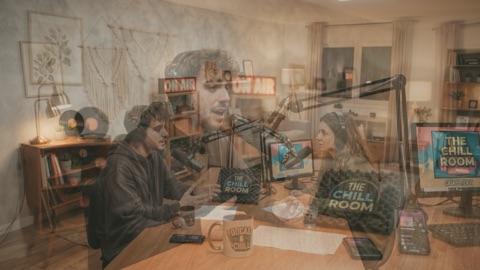
1.3 scut
1.5 sWide shot
On the beat, never mid-line.
Cut on the downbeat or at the start of a phrase, never in the middle of a line. A slow song wants slow crossfades and few of them; a wide shot gives a solo room. Take cameras by their number and keep your eyes on the stage. More in Live switching.
Rehearse the cuts with the set list. Note where each song changes, and the shots follow the music instead of chasing it.
Before the set
The habits that keep a performance sounding like itself on the way out.
- Switch the strip off on instruments. The Voice preset’s voice isolation and compression are for speech; on a guitar or a keyboard they do harm. Set those channels’ strip to Off.
- Leave headroom at the input. Set the interface’s gain so the loudest passage peaks well below full scale; a quiet input can be raised later, a clipped one can’t be repaired.
- Read the loudness, not the peaks. Reset the master’s loudness meter as the set begins and watch I: aim the average at the target and let the music move around it.
- Keep the limiter for accidents. If its gain-reduction bar moves on every chorus, the mix is too hot: bring it down rather than letting the limiter flatten it.
- Silence the camera mics. A camera’s own mic hears the room late and colours the mix. Turn its sound off unless it is your ambience mic.
- Match the frame rate to the lights. 25 or 50 fps where the mains are 50 Hz, 30 or 60 where they are 60 Hz, or stage LEDs flicker on camera. 60 (or 50) for fast movement and dance.
- Give the stream’s sound its due. In a platform’s Custom encoder settings, choose the highest AAC bitrate it takes: for music the difference is audible.
- Listen back on headphones. Test with a private stream and listen to the platform’s playback, not your monitors: that is what the audience hears.
- Record the tracks. Separate tracks in 32-bit float WAV: every input as it arrived, never clipped, to mix the release later.
Questions
Does CamStation process the music?
Only where you ask it to. A show mic’s channel strip can be switched off entirely; and songs played as PROGRAM keep their own level. The master’s limiter, on by default, keeps peaks under its ceiling; you can switch it off too.
Is it stereo?
The program, the stream and the recording are stereo. Each show mic is one mono channel; a stereo source comes in as an app’s sound (a DAW, a DJ app) through a screen input set to be heard always, and clips and the music bed are stereo.
What sample rate does it run at?
The show runs at 48 kHz in 32-bit float. Inputs at another rate are converted to it at high quality.
Which of this needs Pro?
Streaming, the limiter and the loudness meters are free. These are part of CamStation Pro: the master strip, the mic channel strip and recording the show.
Read on
Related features

Sound
The mixer, the strips and the loudness-true master.

Genlock Media Engine
How CamStation uses the GPU and the media engines, and what a show costs your Mac.

Recording
Every input on its own track, for the mix.
Other use cases

Podcasts and talk shows
Two or three cameras, a mic each, names under the guests, music that ducks.

Churches and events
Network cameras round the room, lyrics and names, a stream that holds on a weak uplink.

Teaching and webinars
Camera, slides and screen in one picture, in Zoom or Teams as an ordinary camera.
Your show, on your Mac, the way broadcast does it.
Be the first to know when the beta opens.