 CamStation
Teach with a studio look, in any call.
Your camera, your slides and your screen in one picture, in Zoom, Teams or Meet as an ordinary camera and microphone.
Who it’s for
For teachers, trainers and anyone who presents on a call.
A class, a training for a client, a webinar for a few hundred people: the call app is where the audience is, and CamStation is what they see and hear there. You run the show (your camera, your slides, a short video, the break) and the call simply receives a camera and a microphone.
The pictures on this page are from CamStation’s demo show, The Chill Room; the same screens run a class.
A typical rig
- Camera
- A webcam, or your iPhone through Continuity Camera.
- Mic
- A USB mic close to you, or a lavalier on an audio interface.
- Screen
- Your slides or the app you teach, as a window capture with its sound.
- Outputs
- CamStation Camera and Microphone in the call; a stream and a recording for the people who missed it.
- Mac
- Apple Silicon (M1 or later), macOS 15.2 or later.
Into the call as a camera
One camera and one mic, in every app at once.
In the call app, choose CamStation Camera and CamStation Microphone, once. From then on the call receives whatever is on air, cut for cut. The top display names every app receiving the show. More in Into every call.
Turn off the call app’s noise suppression and automatic gain. CamStation already cleaned your voice; the call’s processing would chop up a video’s sound and pump your levels.

You and your slides, in one picture
A composite shot instead of “share screen”.
Capture your slides’ window, then build a shot in the Shot Editor with the slides large and your camera beside them or in a corner (the templates include picture-in-picture and side by side). Cut between the full camera, the full slides and the two together as the lesson needs. More in Screen capture and Live switching.

Enlarge before you share. Zoom the page in, hide toolbars, and check the result on the program monitor at the size your audience sees it. And keep the pointer still when you’re not pointing at something.
Names, and a break that looks planned
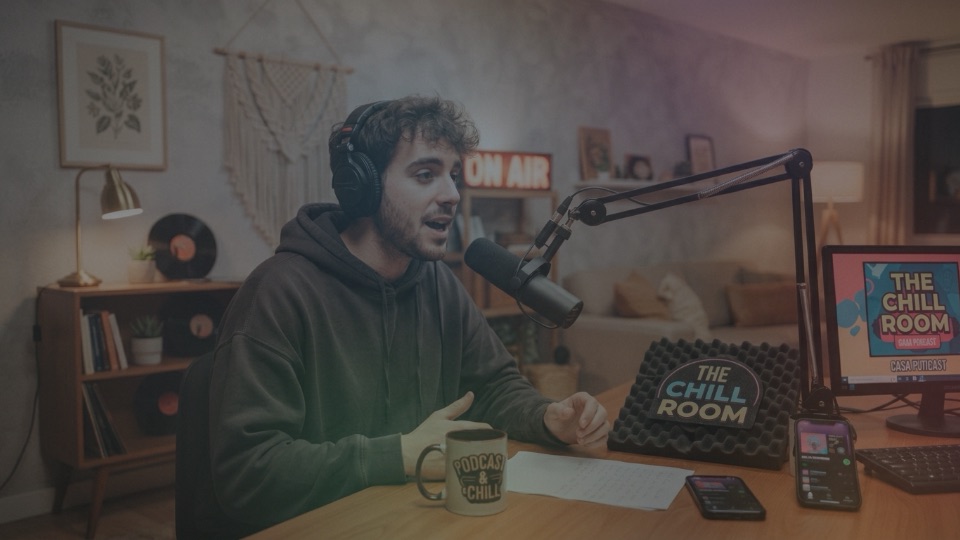
1.0 sHost camera
1.1 s
1.3 scut

1.5 sBe right back
Your name at the start, the stand-in for the coffee break.
A lower third with your name and the course opens the session. When you need a minute, Control Option Command S takes the stand-in, a calm loop that says you’ll be back, and the same key brings you back. More in Over the program.
A stand-in with soft music behind it feels intentional; silence feels like a fault. Set the music to fade in with it.
Clean sound from any room
Voice isolation on the mic, before the call ever hears it.
Classrooms echo and home offices hum. The mic’s channel strip starts with macOS’s voice isolation, which takes the fan, the traffic and the keyboard out from under your voice, then levels it so you sound the same at the start of the lesson as at the end. More in Sound.
Point the mic’s back at the noise. Most mics hear least from behind: turn the back of the mic toward the computer’s fan, the window or the door, and wear headphones so the call never comes back through it.

Before the session
The habits that make a call look and sound like a studio, from the manual.
- Keep the show landscape. Zoom, Meet and Teams expect 16:9 and crop or letterbox anything else.
- Light your face from the front. A soft light in front of you, a little to one side and above your eyes; never a window behind you, which turns you into a silhouette.
- Capture a window, not the display. A window capture shows only that window, shaped to fit the picture; notifications, the desktop and the other apps stay off air.
- Make the text big. Zoom the browser in, use the app’s presentation mode, raise the editor’s font. Body text at least 30 to 40 pixels tall in a 1080p picture stays readable in a call window.
- Turn off the call’s sound processing. In Zoom, “Original sound for musicians”; elsewhere, noise suppression off or low. It mistakes a video’s sound for noise and pumps your levels.
- Wear headphones. Nothing from the call leaks back into your mic, so the students hear you clean and nobody hears an echo of themselves.
- Switch off macOS’s video effects. In Control Centre’s Video Effects: Portrait, Studio Light and Reactions apply to any camera, CamStation Camera included, so a thumbs-up could fire fireworks over your slides.
- Test in a real call first. Zoom’s test meeting or a colleague: check they see your cuts, hear a video you play, and that your voice matches your lips.
- Keep it calm. Calls compress the picture far harder than a stream. Fewer cuts, steady shots and large, bold text survive it.
- Have the break ready. The stand-in set up and rehearsed once, with music under it, for the coffee break and the moment you need to fix something.
Questions
Which apps can I teach in?
Any app that takes a camera and a microphone: Zoom, Google Meet, Microsoft Teams, FaceTime, Discord, OBS and web apps in your browser. Choose CamStation Camera and CamStation Microphone once in each.
Will the students see my slides sharply?
The call app decides how much picture it sends, often 720p, so CamStation’s program is always sharper than what arrives. Large text and a window shaped like the picture make the difference.
Can students hear a video I play?
Yes. CamStation Microphone carries the program’s sound: a clip you play, or the sound of an app you capture, reaches the call with its picture. The show’s rules decide whether your mic stays open under it.
Which of this needs Pro?
CamStation Camera and Microphone, screen capture, switching and the stand-in are free. These are part of CamStation Pro: composite shots, shots over the program and the mic channel strip.
Read on


Your show, on your Mac, the way broadcast does it.
Be the first to know when the beta opens.